When the husband and I upped sticks from another county to move into this Suffolk period property, we knew we had our work cut out for us! The house had been neglected for a long time and the ground floor was crying out for a complete overhaul. But, I actually prefer to move into houses like this. This is, after all, the best way to put your personal stamp on a property and design a home you’ll enjoy living in for years to come.
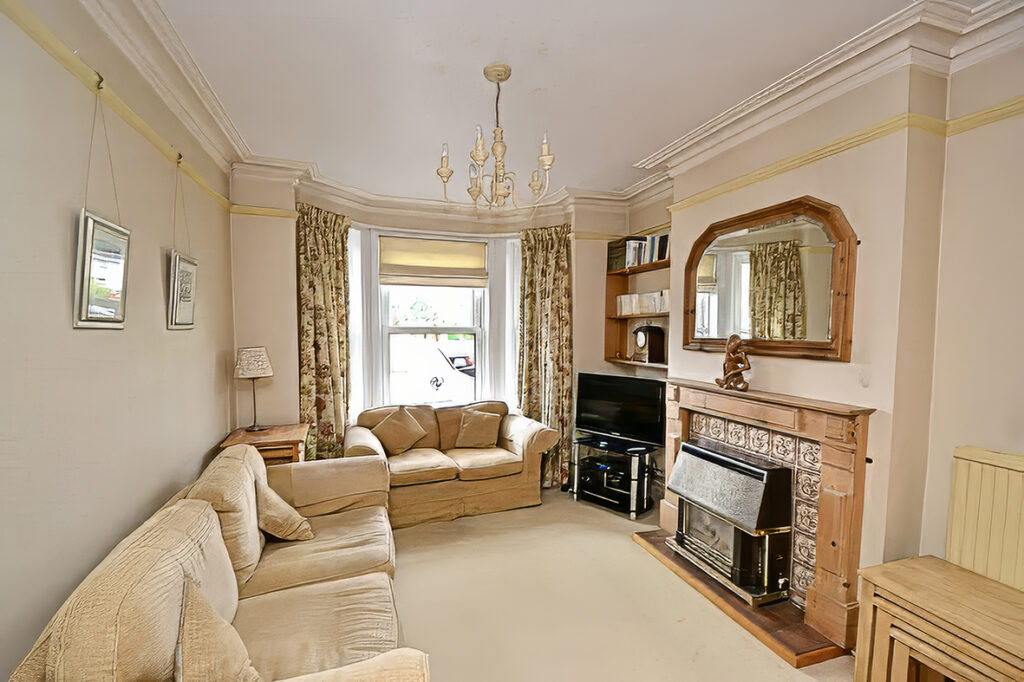
In the living room, we had an ugly gas fire dating back to the 50s and tired decor. However, I knew I could hugely improve this space so, with the help of a local building company, we reconfigured the existing living room to house a utility room and cloakroom. Once we had sorted out the layout, I had to tackle that awful gas fire. My plan was to replace it with something, which would work with the character of our Edwardian home.
Working with an Edwardian property
First, we got a heating engineer to remove the fire and cap the gas pipe. Then, I enlisted a HETAS (Heating Equipment Testing & Approval Scheme) registered sweep, whose tasks were to knock through to the chimney, then clean and inspect it as it hadn’t hadn’t been open for decades.
I love the character in a period property (our home was build in 1908), however you never know where you might find hidden surprises, so I didn’t want to take any chances. I was considering both wood burners and working fires at this point, although personally the thought of an open fire appealed to me more.
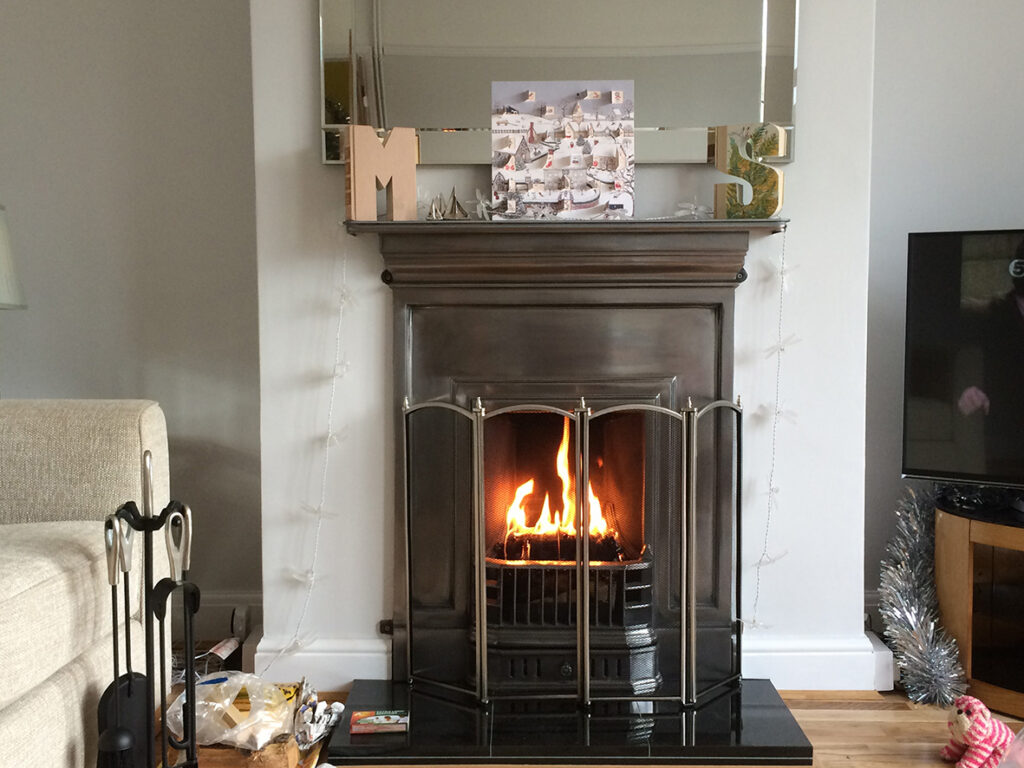
The chimney-sweep then told us he had inspected and cleaned it and he would be happy to install a fireplace for us, too. So, I looked online and found a beautiful case iron model – exactly the same as the one I’d picked for us in our previous home! We used to live in an Art Deco house and I felt this design would suit this space perfectly. However, a few months after installation, I ran into an issue with the hearth.
Fireplace problems
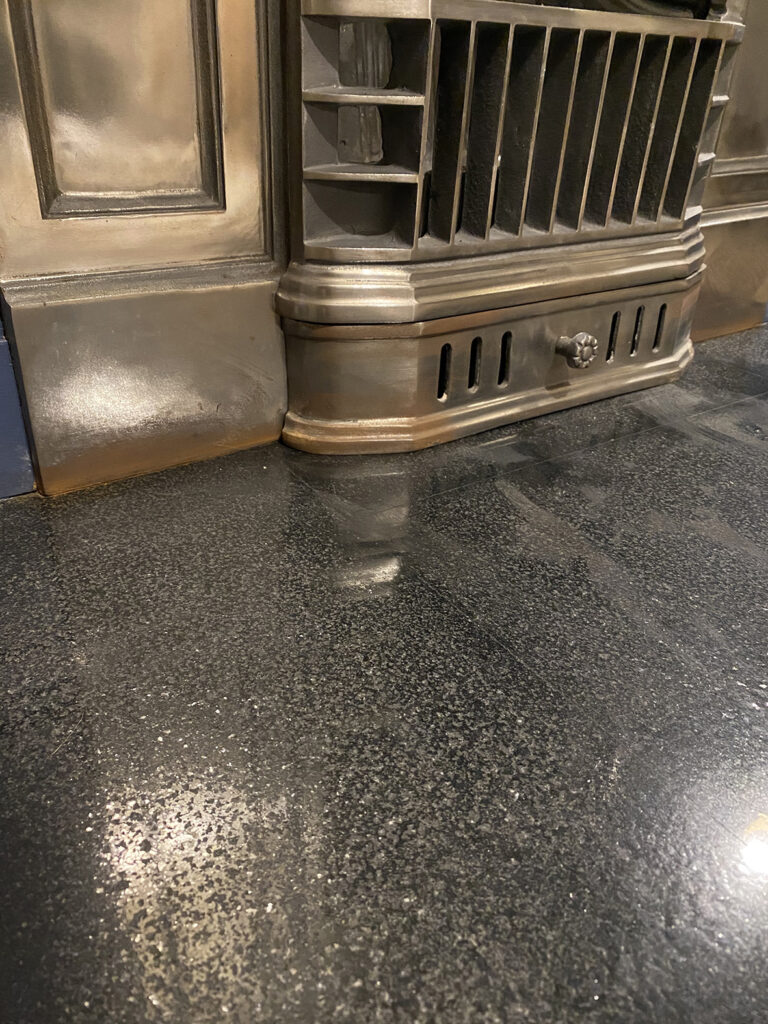
It’s amazing how one problem in a period property can soon unearth another one, isn’t it? Firstly, the granite on our new living room hearth started to ‘blister’ and the base of the fire surround started to rust. It was really strange – white ‘salty’ deposits on the top were ‘eating’ the stone. But this was during Covid and we couldn’t ask anyone to visit at this stage in the pandemic. The sweep did eventually return to carry out the annual sweep so I asked him what his thoughts were. He claimed we must have used harsh chemicals on the heart and he literally walked away and refused to look into it, which left me speechless.
Soot all over the living room
So we contacted another chimney-sweep to sweep the chimney while we decided what we were going to do. What happened next was a disaster, but also a blessing in disguise. The new chimney-sweep called us into our living room and the entire area was filled with soot. It was horrendous! It was all over the curtains, sofa, floor, walls, ceiling, literally everywhere.
The soot was now billowing out into the rest of the house as I’d opened the door. He said it looked like the fireplace was fitted to the wall with just two screws and perhaps a little sealant. There were lots of gaps on each side of the surround where soot was flying into the room. The clean-up operation took us weeks to complete, it was awful; it’s as bad as building dust in terms of getting everywhere, but what makes it even worse is the colour.
So, I contacted HETAS who checked the installation and they condemned the fireplace. We also discovered that the first sweep hadn’t cleaned or inspected the chimney either. Our new chimney sweep gave it a subsequent clean with gaffer tape stuck on either side of the fire surround. This way, they managed to pump out tonnes of coal soot. Afterwards, we requested a full inspection. They used a camera (which HETAS told us should have been used in the initial inspection). Unfortunately, this revealed historic breaches in various parts of the chimney breast, which could lead to carbon monoxide poisoning.
Problems with the hearth
I then enlisted the help of a damp proof specialist to find out why he thought there was damage to the granite hearth. He explained that coal soot was dropping onto the granite (we had only ever had two fires using wood pellets). This was reacting with water droplets, which were gathering on the hearth. This hearth was getting cold as we live in an Edwardian home with just one layer of bricks on the external wall. However, the hearth was also touching the concrete base, which was created when the fireplace was installed; we discovered this when we removed the granite. The damp proof course, which had been applied when the house was built, was fine, thank goodness. Instead, condensation and coal soot were reacting together to create an acidic substance. This was eating away the granite and the hearth was beyond repair.
The original sweep
After many years of exchanging mails with the sweep and HETAS, HETAS decided to strike the sweep off their register. So they could no longer deal with this issue as the company was no longer a member. This meant we would have to take the matter further ourselves. The next steps were to consider court action, but we eventually settled out of court with a payment. This took five years. All we had was a small amount of ‘compensation’ money, which didn’t cover the cost of a new fireplace. So we were left with a rusty fireplace and a wrecked hearth, which looked awful.
Making a fresh start in the living room
Next, we hoped to repair all of the chimney breaches after HETAS issued a warning notice and condemned the fireplace. But, once the chimney was inspected properly, we found we couldn’t reach them all. One was in the bedroom and we would have to knock down that wall to access it. By this stage, you can imagine, I’d really had enough! So, I felt the best way forward would be to transform the look of the existing fireplace.
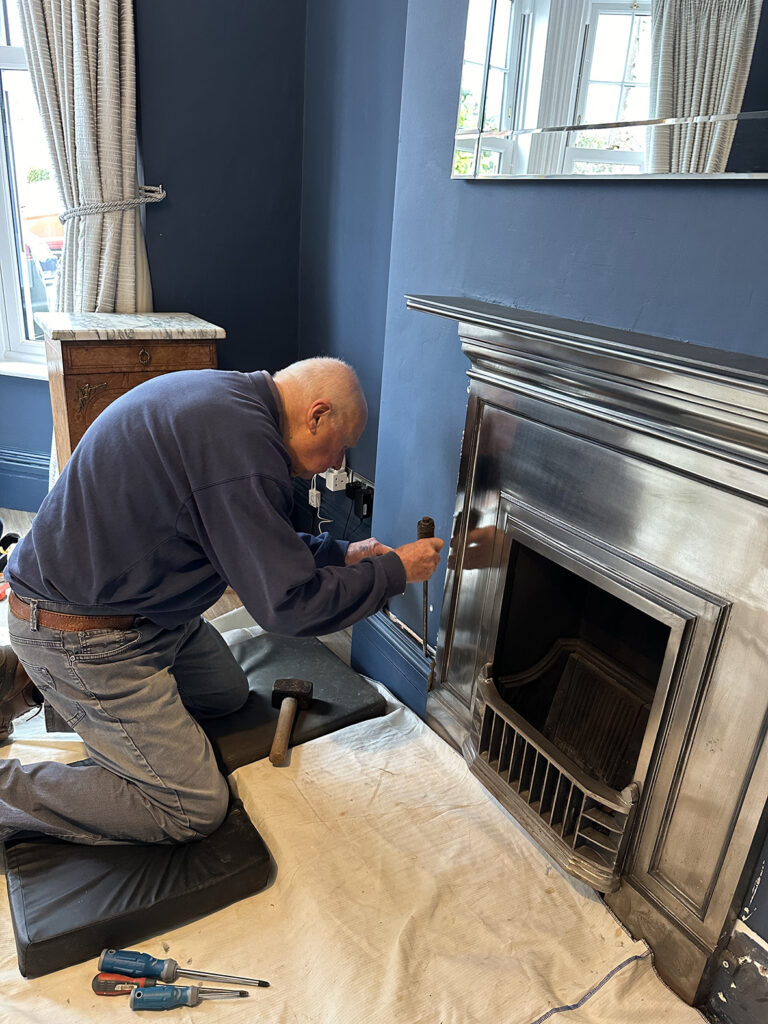
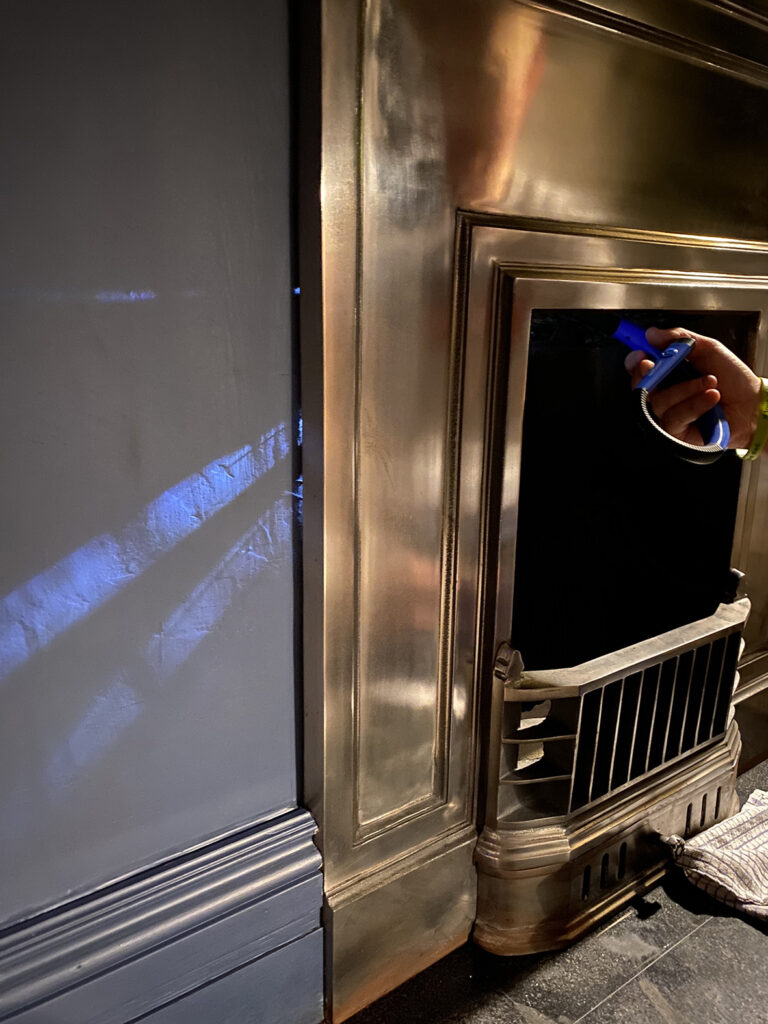
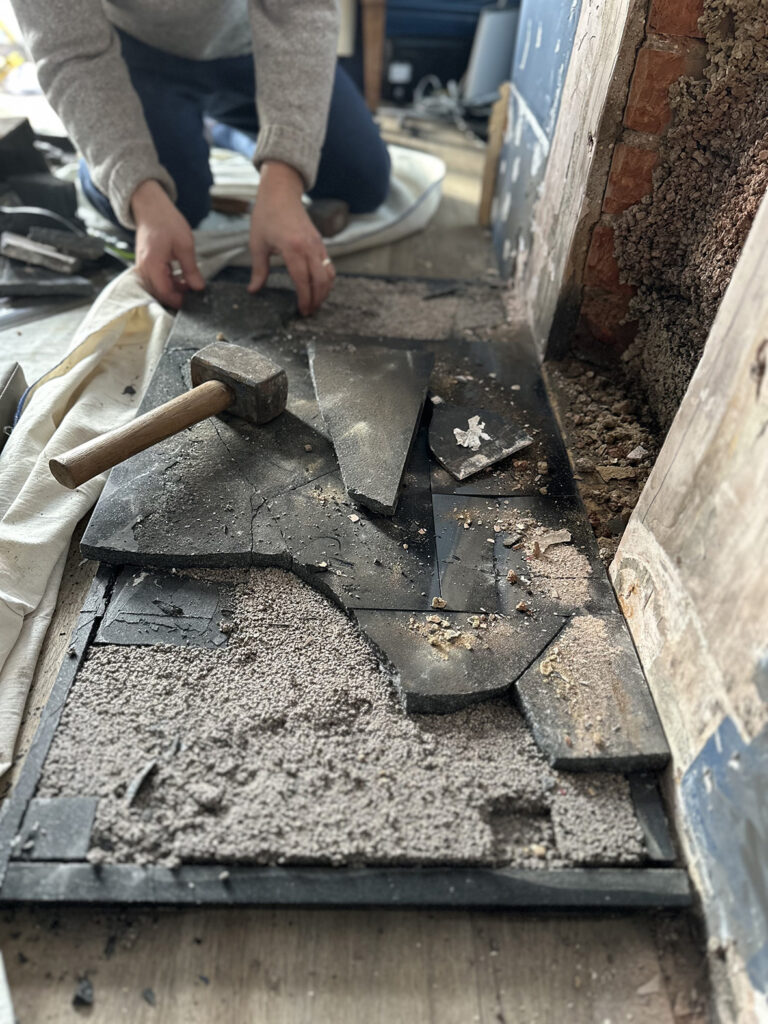
Firstly, we removed the fire surround from the wall. This was easy because it had only been fixed with two screws and not sealed properly. I then used wire wool on the cast iron on the fireplace as there were some rusty patches from the water droplets resting on the hearth. With this, I managed to buff it up into more of a shine. After cleaning the cast iron surround, the husband began knocking out the granite with a hammer and removed it to make way for a new hearth.
Working with local builders
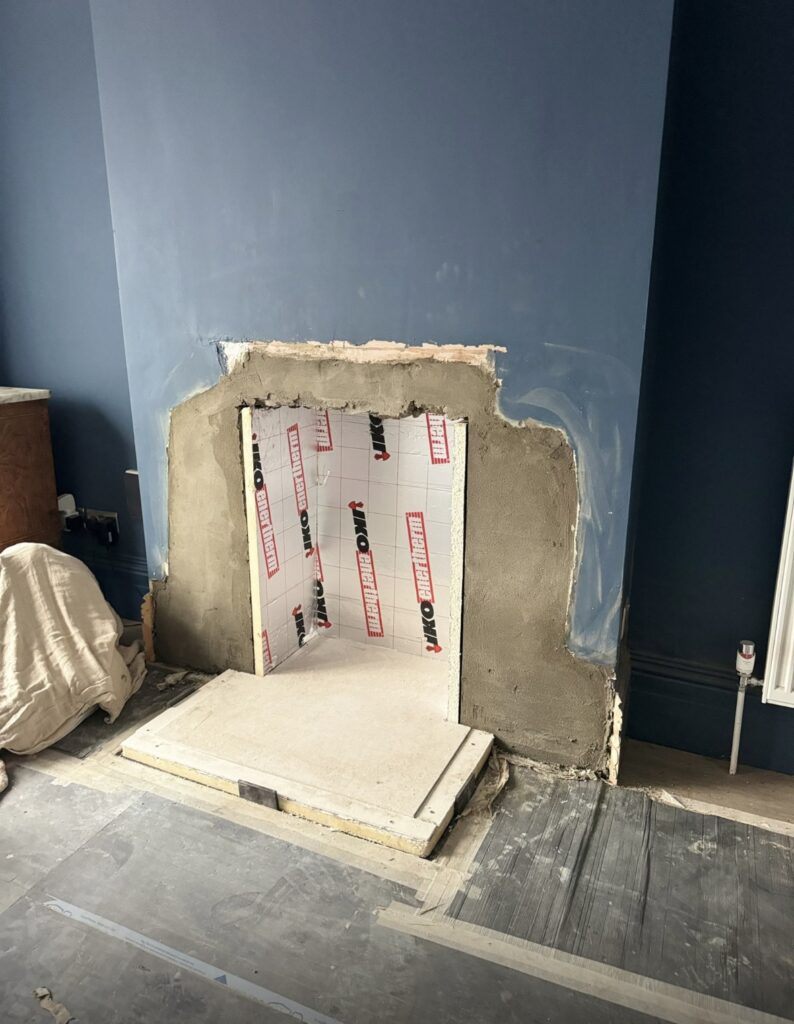
All of this extra work was frustrating but I knew I couldn’t give up. I decided whatever happened, I would try to turn things around and make my fireplace look nice again. So, the next issue was to prevent water droplets from gathering on the hearth. We enlisted the help of a local building company and asked them to add insulation between the new hearth and concrete base – the granite had been placed directly on top, and this was encouraging condensation to form. When this structural work was complete, I was ready to choose a new hearth. By this point, I’d got my heart set on tiles.
Picking fireplace tiles
I chose to work with Hyperion Tiles – they offer more than 15,000 different styles, patterns, shapes and colours and their website is super-easy to use, too. They have all sorts of tiles which can withstand extreme heat and these heat resistant tiles are suitable for a fireplace or wood burner, and range from porcelain to natural stone.
How I picked my fireplace tiles
Heat resistance wasn’t important for me because the fireplace in my home won’t be used. However, I chose ceramic tiles, which are durable and and can withstand heat. Style would be a key feature; I wanted to make a statement on my new hearth in my living room with patterned tiles. Essentially, I was looking for a design, which would complement a period property and stand out as a feature.
The fire surround is made from cast iron, which adds a classic design element to this room. So it made sense to pick a classic tile colour combo to complement this style. Fireplace hearth tiles in monochrome would tie in with the pewter grey finish on the surround and work well with my black and white rug, too.
Size and tile style
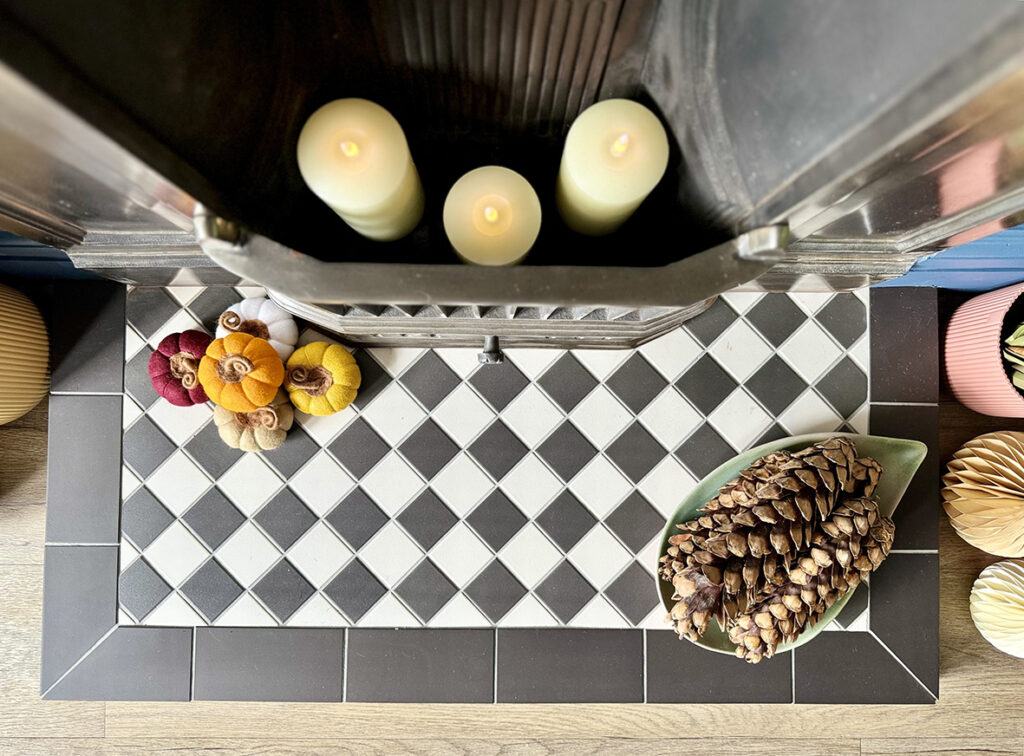
When I was looking for the right style, it was good to speak to the experts at Hyperion Tiles. I knew which tiles I liked but I wasn’t sure which size I should choose. We discussed some examples, which would suit fireplaces and period properties and everything started coming together. Soon, I had chosen a beautiful chequerboard pattern. This style is so versatile; it looks stunning on front paths, in hallways and on hearths in fireplaces. I felt these tiles would make a focal point and draw the eye in, thanks to their contrasting colours and style.
Finding the right fireplace tiles for my living room

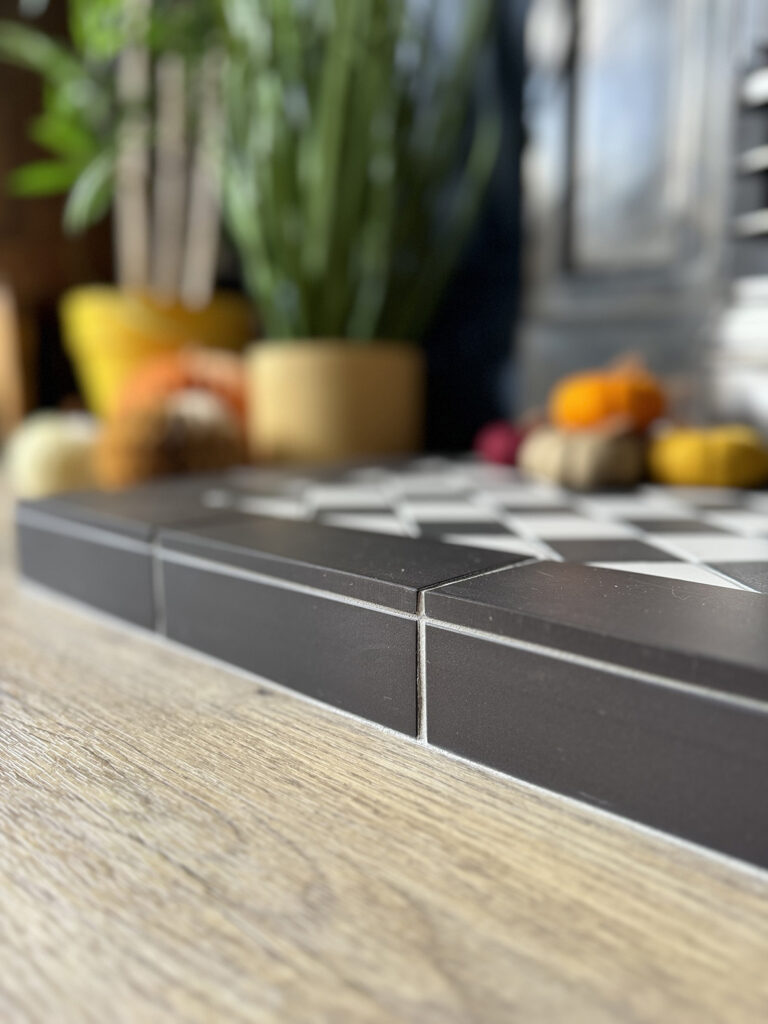
I loved the Victorian Floor Tile collection in particular. This range features tiles, which can be used on walls and floors for interiors and exteriors, so they’re highly durable. This includes their Oxford, 53 x 53mm, Black and Dover White ceramic tiles. These come in a matt finish and I picked these for the top of my hearth. Then I chose the Black Rectangle tiles, 106 x 53mm to frame the look and add to the period style I was looking for. I wanted to place the chequerboard tiles on a diagonal and I used a professional tiler to position the squares (in sheet form) at an angle. I felt this would add interest and depth to my design.
My fireplace hearth tiles have transformed my living room
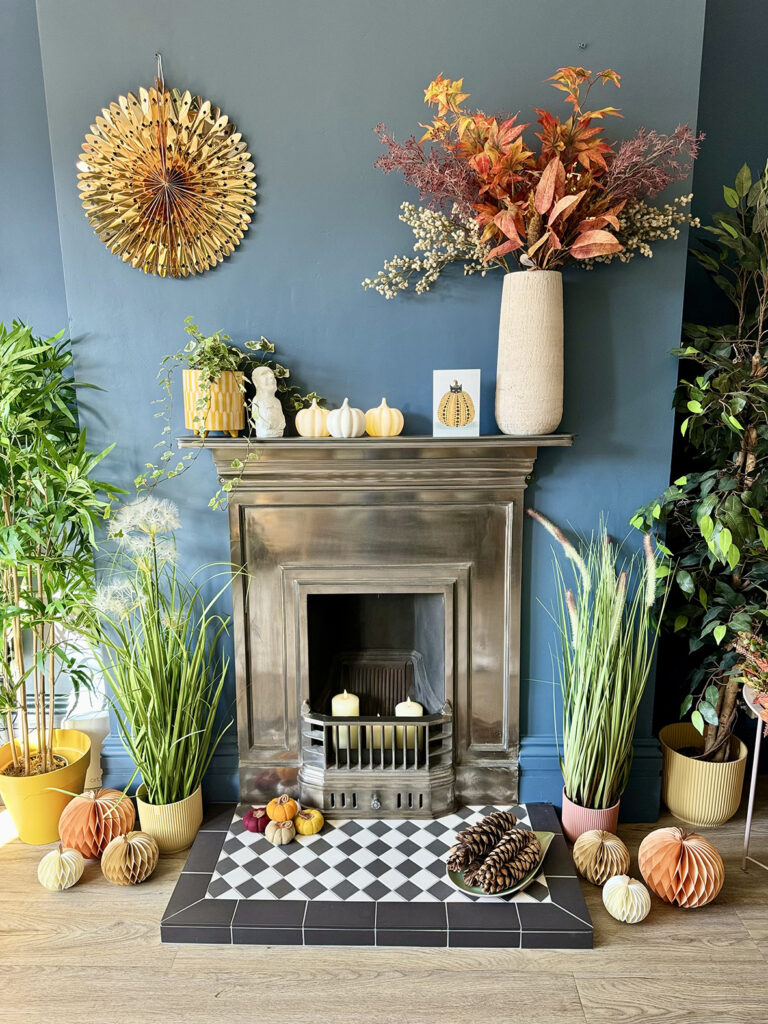
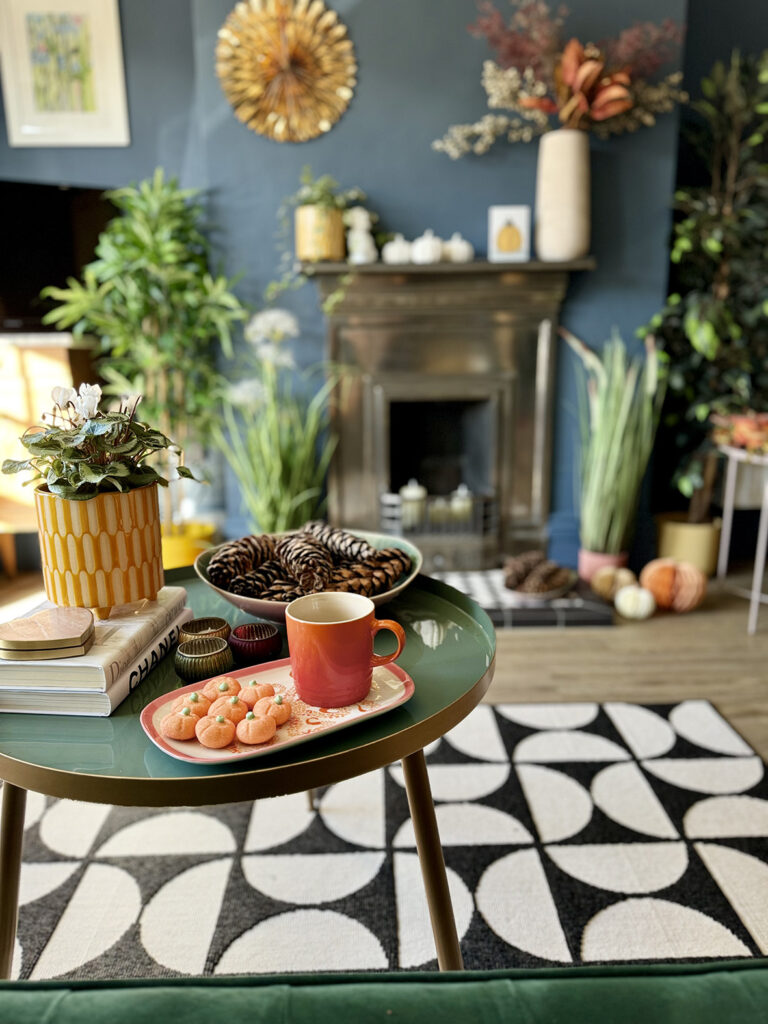
I have completely transformed my living room, thanks to my new fireplace tiles. With so many styles to choose from, at first I wasn’t sure which ones to choose. I think the tiles I’ve picked are perfect for fireplaces in period properties; they add a traditional vibe with a contemporary twist. I now love looking at my fireplace tiles in my hearth from my velvet sofa. This is where I cosy up to watch TV with the husband and our two rescue cats, Leo and Pickle. I also can’t wait to entertain friends and family now this season and next.
AD: This blog was produced as a brand collaboration with Hyperion Tiles